Let create a simple widgets for your app
Guide is divided in 3 section
UI design
First we need to create xml file
Create a empty xml file and give a widget name
![]()
Now paste the below code to your widget.xml file and save it
<?xml version="1.0" encoding="utf-8"?>

<appwidget-provider android:minWidth="250.0dip" android:minHeight="50.0dip" android:updatePeriodMillis="0" android:initialLayout="@layout/home_widget"

  xmlns:android="http://schemas.android.com/apk/res/android" />
let understand above xml code
android:minWidth="250.0dip  =====> This is width of widget
android:minHeight="50.0dip  =====> This is height of widget
android:initialLayout="@layout/home_widget" =====> This is UI part of widget
Let create a UI design for widget
For creating UI we need an XML editor you can use any editor
For now i am using this online Android XML Visualizer
Before we create a UI you must have little knowledge of Android Layout XML. Click here and google it for more information
Now let create UI design
create a empty xml file and give a home_widget name
![]()
Now we have to code a UI design
Here i am creating very simple UI
<LinearLayout xmlns:android="http://schemas.android.com/apk/res/android"
 xmlns:tools="http://schemas.android.com/tools"
 android:layout_width="match_parent"
 android:layout_height="match_parent"
 android:gravity="center"
 tools:context=".MainActivity"
 android:background="#B3FCD9">

<TextView
android:id="@+id/txtview"
android:layout_width="128dp"
android:layout_height="20dp"
android:layout_alignParentBottom="true"
android:text="Text view" />

 <Button
 android:id="@+id/Button"
 android:layout_width="wrap_content"
 android:layout_height="wrap_content"
 android:layout_marginLeft="20dp"
 android:text="Button" />
</LinearLayout>
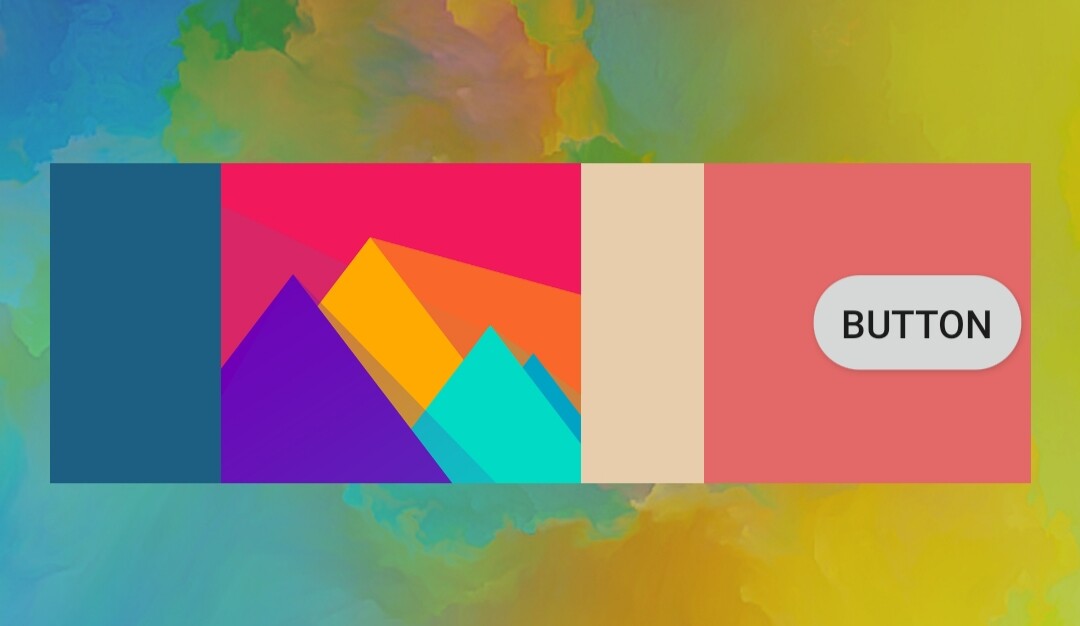
Here i have change background color to #B3FCD9 ![]() and i have created TextView and Button in XML
and i have created TextView and Button in XML
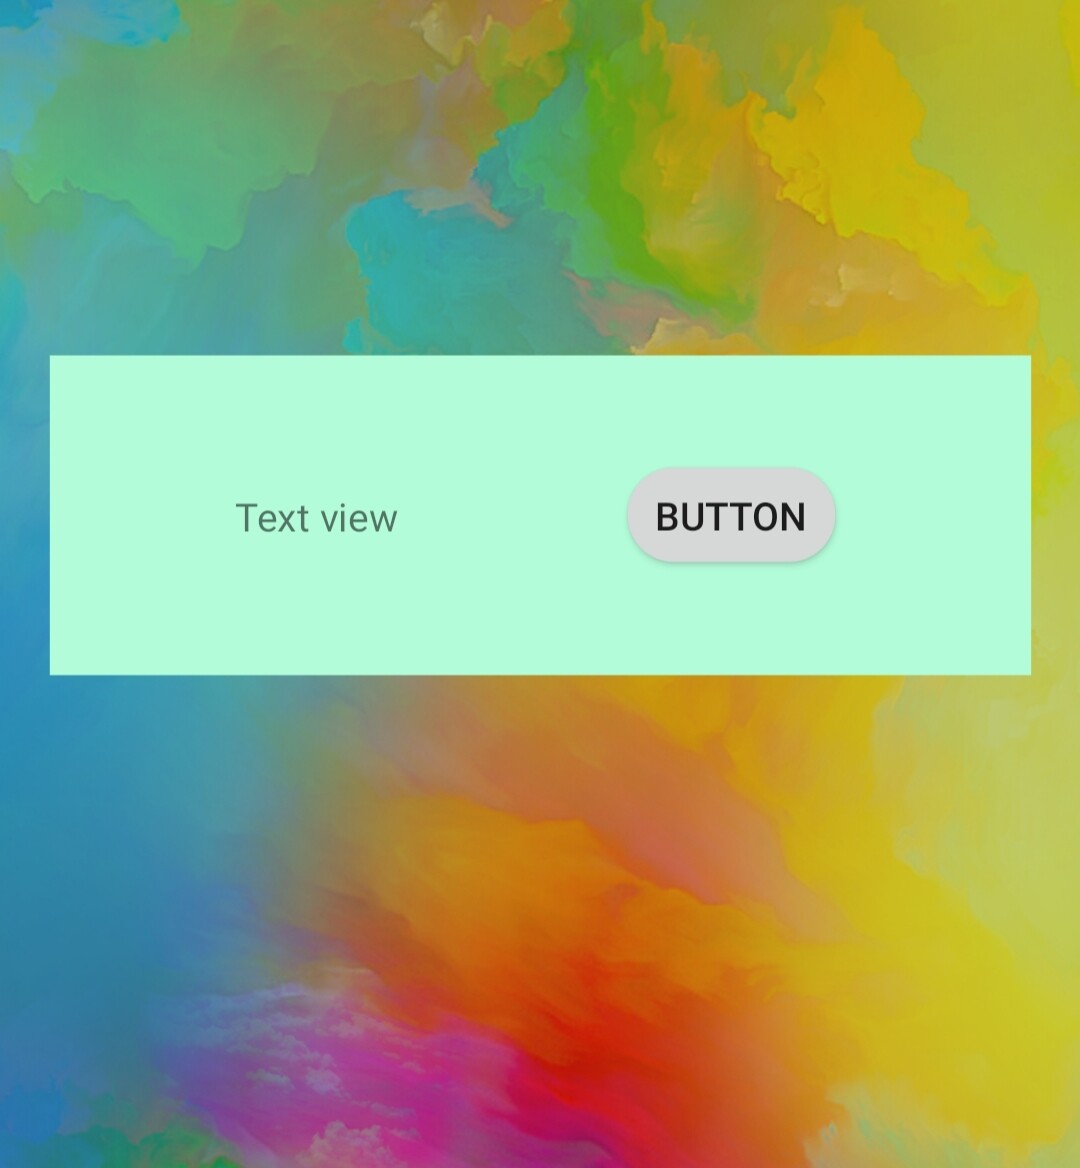
Here is my UI design

Now let add image in background and image view to widget
<LinearLayout xmlns:android="http://schemas.android.com/apk/res/android"
 xmlns:tools="http://schemas.android.com/tools"
 android:layout_width="match_parent"
 android:layout_height="match_parent"
 android:gravity="center"
 tools:context=".MainActivity"
 android:background="@drawable/img">

 <ImageView
 android:id="@+id/imageView"
 android:layout_width="0dp"
 android:layout_height="match_parent"
 android:layout_weight="1"
 android:src="@drawable/pic"/>


 <Button
 android:id="@+id/Button"
 android:layout_width="wrap_content"
 android:layout_height="wrap_content"
 android:layout_marginLeft="20dp"
 android:text="Button" />
</LinearLayout>
i have replace the android:background="#B3FCD9" ![]() color with image
color with image
![]()
android:background="@drawable/img
Here is my UI design with images

APK
Add widget to your apk
Download your apk from kodular.io and decompile your apk using any apk tool here i am using APK Editor Studio
Now we have following files
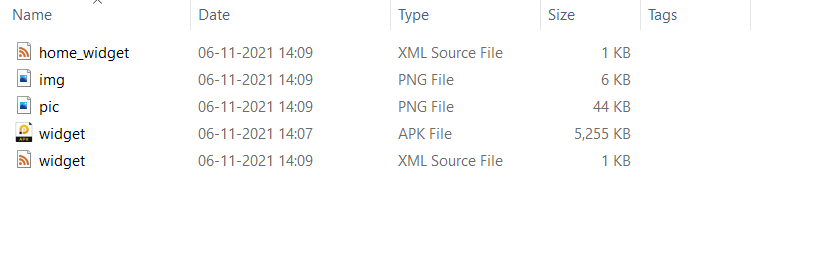
open apk editor studio and decompiling your apk
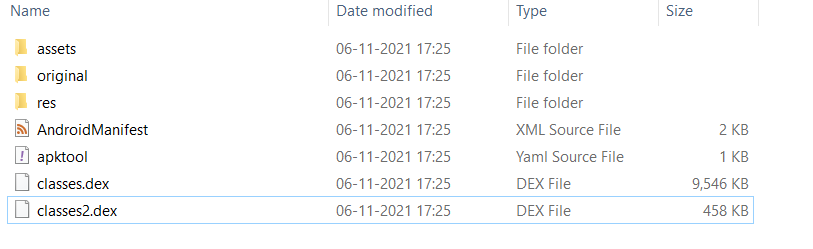
now your apk directory will look like this
copy your widget.xml file and paste in /res/xml folder
copy your home_widget.xml file and paste in /res/layout folder
copy your all images and paste in /res/drawable folder
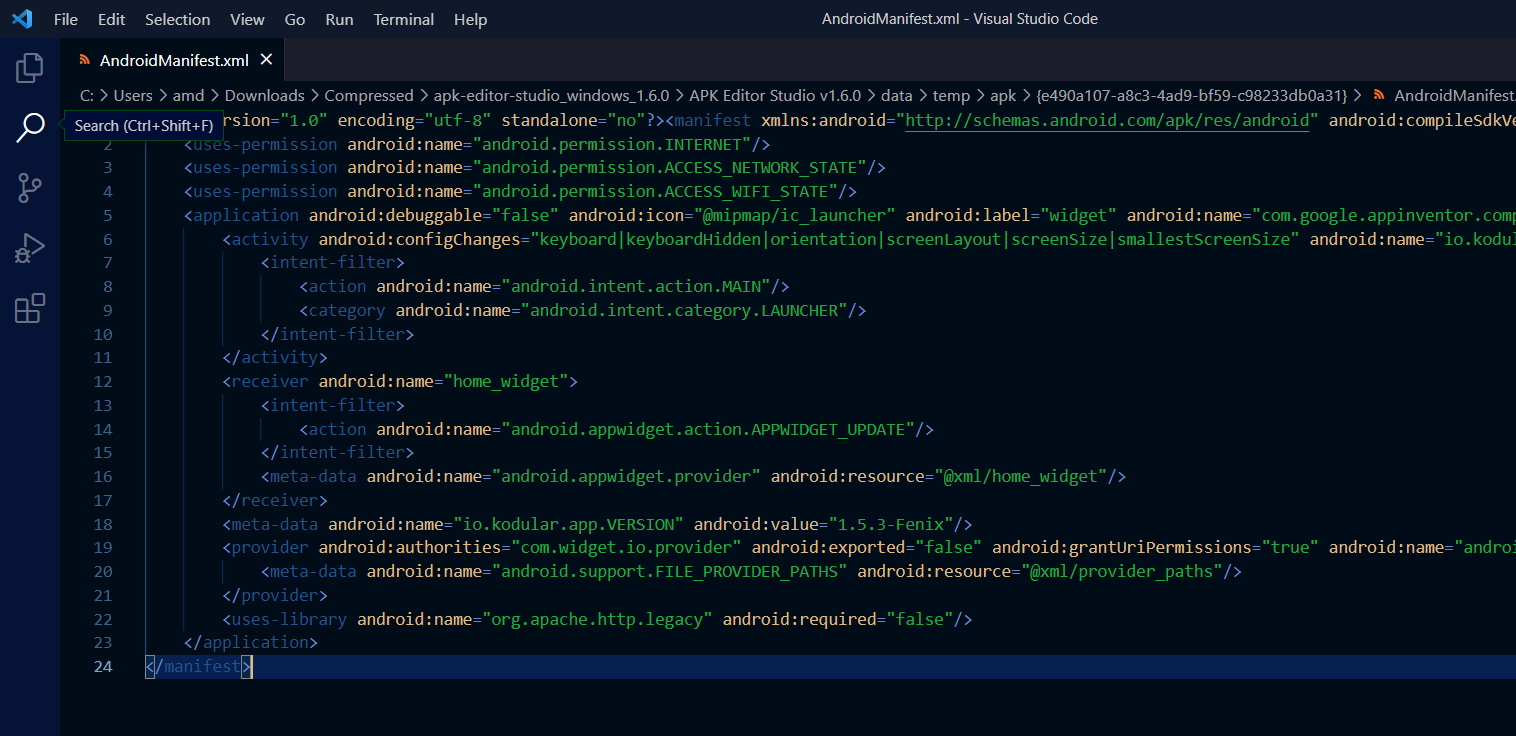
Now open your AndroidManifest.xml and paste the below code to AndroidManifest.xml
<receiver android:name="home_widget">
            <intent-filter>
                <action android:name="android.appwidget.action.APPWIDGET_UPDATE"/>
            </intent-filter>
            <meta-data android:name="android.appwidget.provider" android:resource="@xml/home_widget"/>
</receiver>
after adding your AndroidManifest.xml will look like this
now save it and compile your apk
Done !!
Here is some screenshots of widgets
AAB
For publishing your app in play console you need AAB file
You can use my tool
GitHub - sensei-z/Edit_AAB: A tool which allow you to modify the AAB file
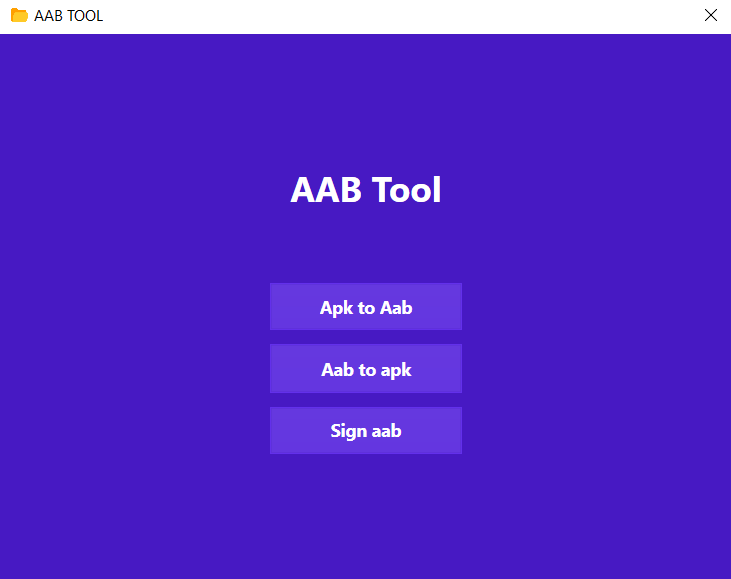
requirements and instructions are available in my Github page
Here we come to the end of the guide
sample apk -
widget_pic -test_apk_with_pic.apk (5.2 MB)
widget_no_pic -test_apk_without_pic.apk (5.2 MB)
AAB Tool - sensei-z/Edit_AAB: A tool which allow you to modify the AAB file (github.com)