Hi guys!
I started using Kodular few weeks back and I found out that there is no emulator provided by ![]() . So I tried to use Android Studio’s Virtual Device as an emulator. It took me some time to figure it out but I managed it at the end.
. So I tried to use Android Studio’s Virtual Device as an emulator. It took me some time to figure it out but I managed it at the end.
So here I am writing my first tutorial on how to connect Kodular projects with an AVD.
Step 1: Download Android Studio.
- If you don’t have Android Studio, you will have to install it. Here is the link to install it.
- After downloading Android Studio, you will have to set it up.
- A video link for help - https://www.youtube.com/watch?v=0zx_eFyHRU0
Step 2: Create an Android Virtual Device (AVD).
- After downloading and configuring Android Studio, we need to create an AVD.
- Go to Android Studio.
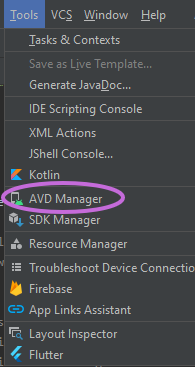
- Click on Tools in the ribbon and then select AVD Manager.
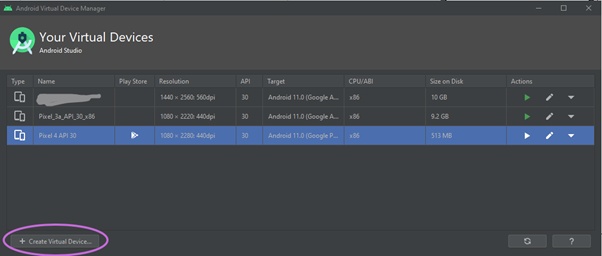
- After that chose Create Virtual Device
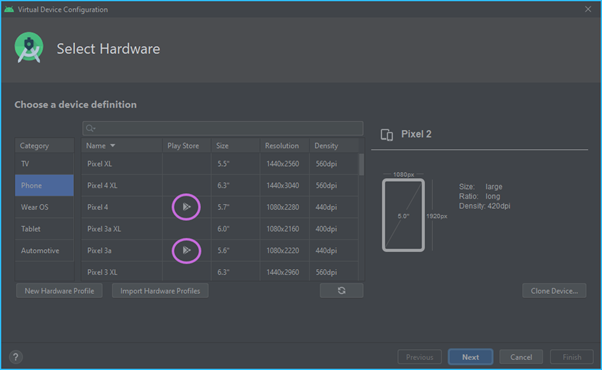
- Be careful! Chose a device that supports Google Play Store.
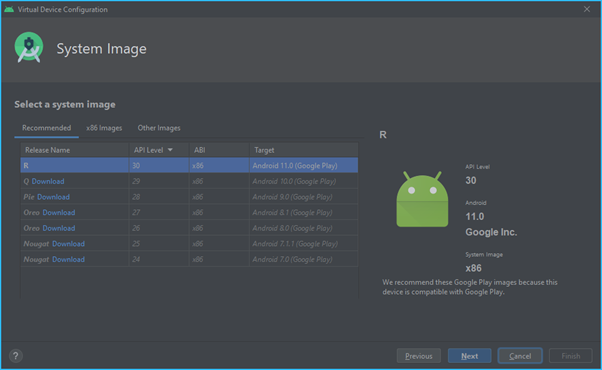
- Select the Android version (you will have to download it, if you haven’t already)
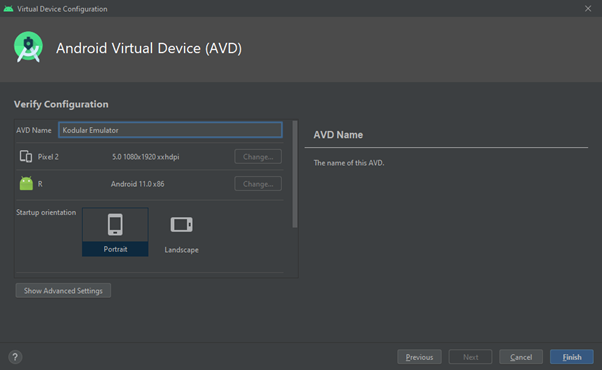
- Give your device a name (I gave it Kodular Emulator)
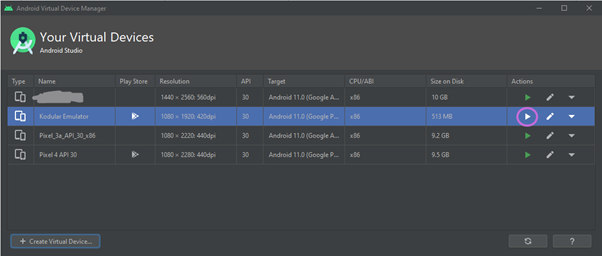
- Start the device
Step 3: Download Kodular Companion.
This is just like downloading Kodular Companion on your mobile, you can reading this step if you wish to.
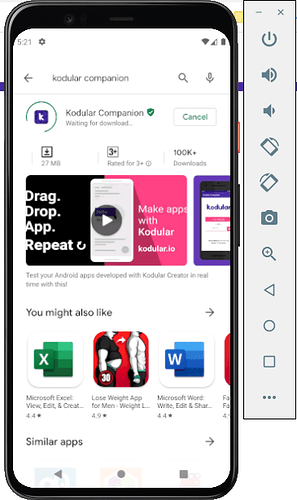
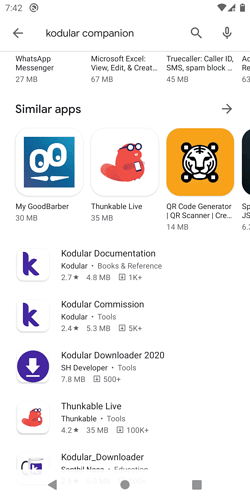
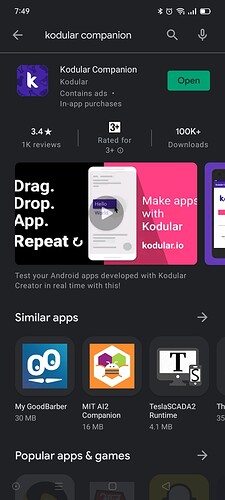
- Once the device has booted up, start Play Store.
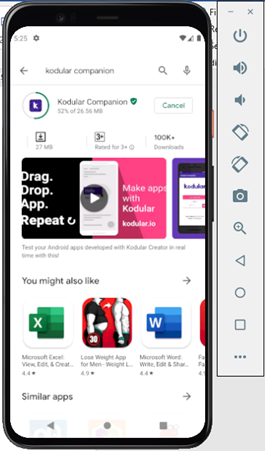
- Search for Kodular Companion, and download it.
Step 4: Create a test Kodular Project.
- Create a new Kodular Project for testing it on the emulator.
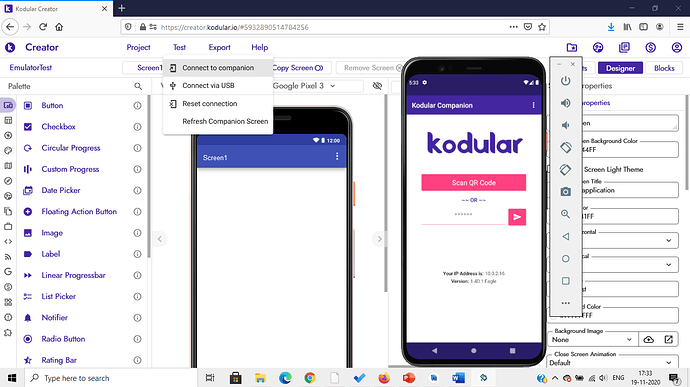
- Open the Kodular Companion app on the emulator.
- Go to Test >> Connect to companion on Kodular creator.
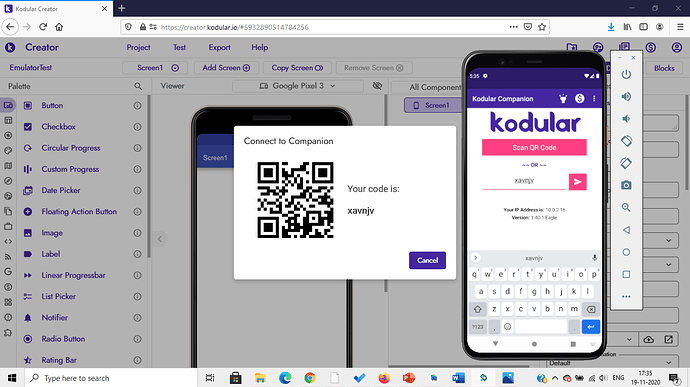
- Enter the connection code on the companion.
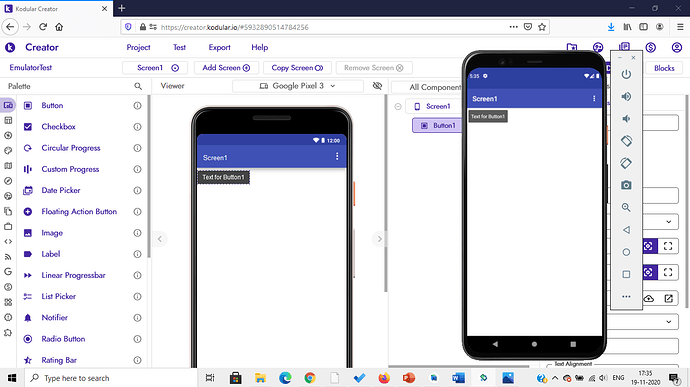
- After the companion is connected, add a UI component for testing (like a button).
Yay! We managed to test the project on an emulator. ![]()
Please give your valuable feedback and suggestions as this was my first guide!
![]()
![]()
