Hello Guys I’m here with a guide and as you can see the title of this post ‘How to Create Order History Screen In App’ so in this post i will tell you that how can you implement an Order History Screen in Apps that’s you made with an App Inventor like Kodular, Appybuilder, MIT and Niotron.
Note- This is my First Guide and my English is not very well so please Ignore Grammer Mistakes
First of all, I wanna tell you some important points that’s you need to know before you Start your project, that is-
- You should have sufficiant Knowledge about Firebase
- You should have some Knowledge about your App Inventor
so if you have sufficiant knowledge about aboves then you can Process Further.
Important Exensions to Create Order History Screen In App
First of all, you need to have an Firebase project, if have not then you can create ones. After done that, you need to have some Extensions called ‘Dynamic Components’, ‘ListUtils’ and ‘JSONTools’ and that are absolutly free Extensions. If you wanna know about it then you can search on Google or in this Community.
Dynamic Components
Dynamic Components by @yusufcihan
ListUtils
ListUtils by @Hossein Amerkashi
JSONTools
How to Create Order History Screen In App
let’s Rock! Now you are ready to create Order History Screen In App your App. So ,i’m telling you some Steps please read it carefully.
1. Install Extensions in your project
Now you need to install all of Provided Extensions in your project and i believe that you know how can you install all of these extensions in your project. If not, then Simply ask in Reply.
2. Connect your Project with Firebase
Now need to drag and drop Firebase Components in Your project. Drag and Drop ‘Firebase Database’ and ‘Firebase Authentication’ in your Project. Are you thinking about why I’m using Firebase Components in Project, Specialy Firebase Authentication? so you need to know that we are using ‘user ID’ as a project bucket so Firebase Authentication is providing an ‘User ID’ to us that would be different for everyone or every account and ‘firebase database’ is a way there we will store our whole App’s data.
You don’t need to do anything with firebase Authentication but With Firebase Database you have to do some changes with ‘Firebase Token’ and ‘Firebase Url’.
You will see Default Firebase token and Firebase Url in your Project so you have to change it with your firebase Token and Firebase Url.
3. Create Screen Layout
In Screen Layout, here is nothing to do so if you are a begginer then you can also create it easily. See the Pic below-

as you can see in this image there is not need any extra comment to tell you so let’s go ahead.
4. Set-up your Blocks
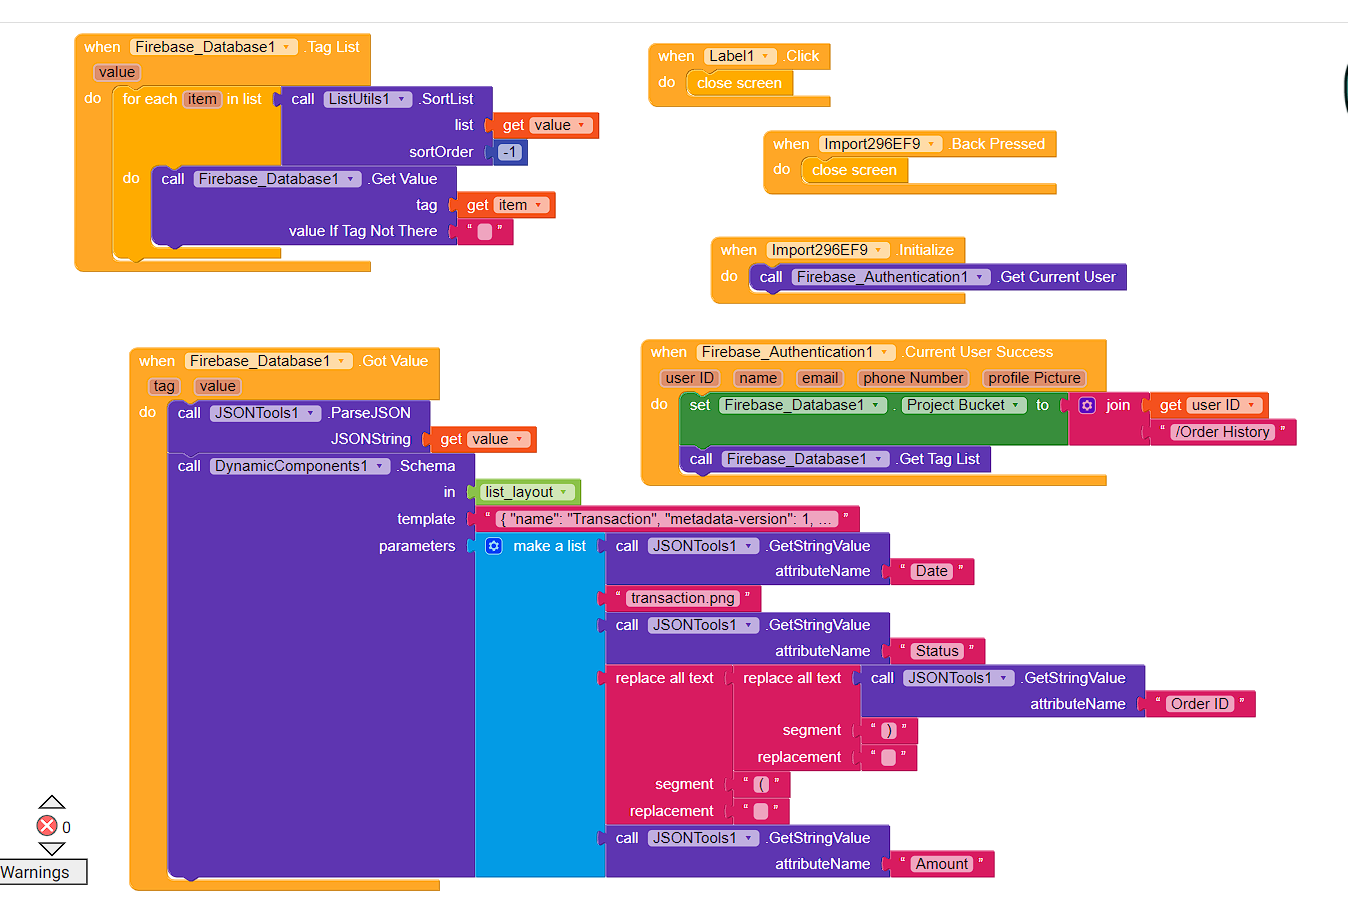
Now you need to set-up your blocks as you seen above the image and i think that i don’t need to explain it deeply.
Schema
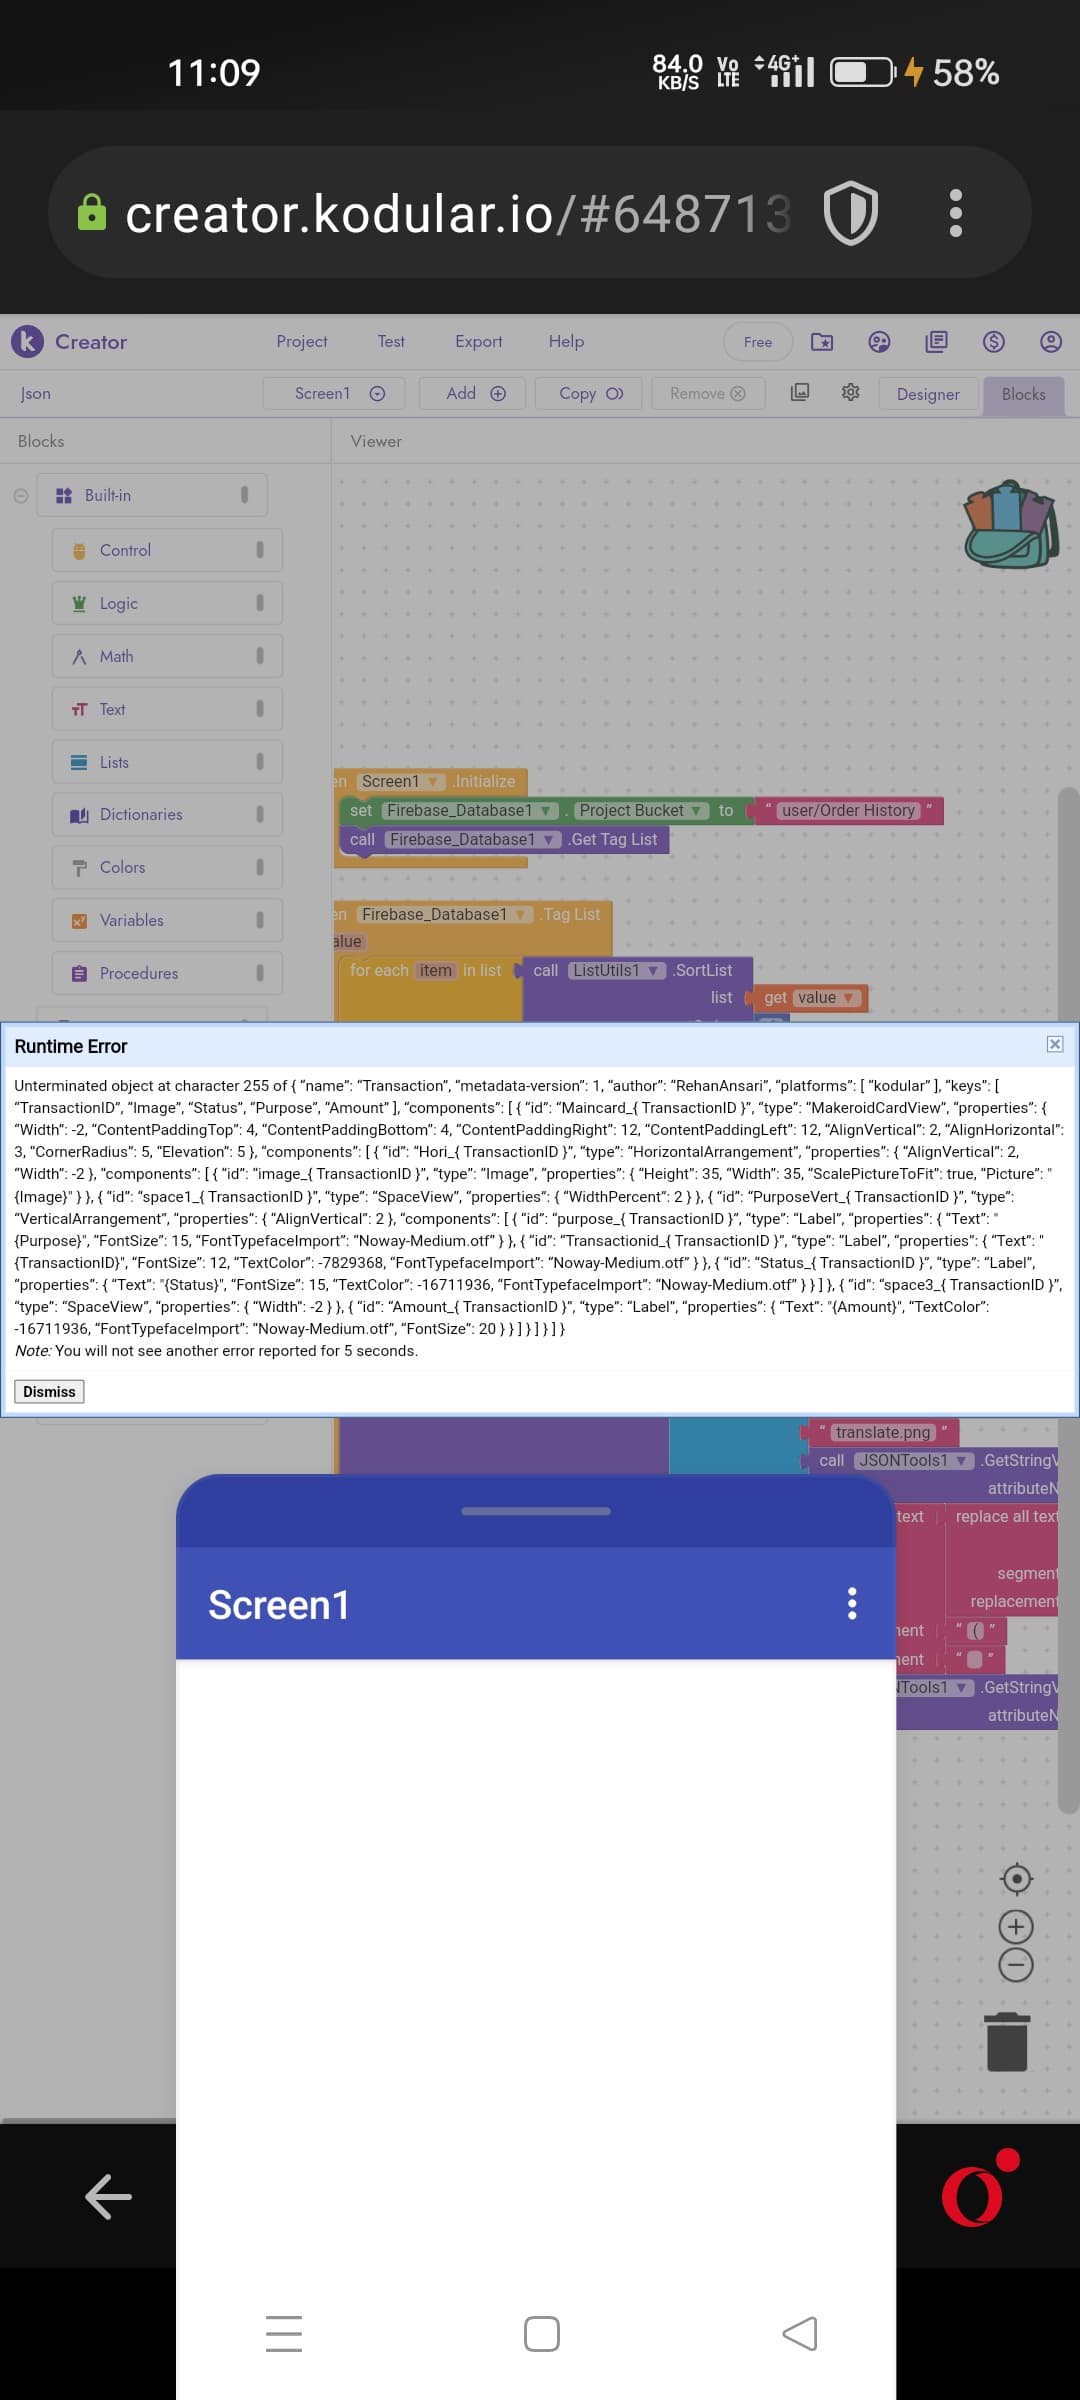
Put this Schema in Template ‘String’ and you are done.
{ “name”: “Transaction”, “metadata-version”: 1, “author”: “Rehan Ansari”, “platforms”: [ “kodular” ], “keys”: [ “TransactionID”, “Image”, “Status”, “Purpose”, “Amount” ], “components”: [ { “id” : “Maincard_{TransactionID}”, “type” : “MakeroidCardView”, “properties” : { “Width” :-2, “ContentPaddingTop” :4, “ContentPaddingBottom” :4, “ContentPaddingRight” :12, “ContentPaddingLeft” :12, “AlignVertical” :2, “AlignHorizontal” :3, “CornerRadius” :5, “Elevation”:5 }, “components”: [ { “id”:“Hori_{TransactionID}”, “type”:“HorizontalArrangement”, “properties”: { “AlignVertical”:2, “Width”:-2 }, “components”: [ { “id”:“image_{TransactionID}”, “type”:“Image”, “properties”: { “Height”:35, “Width”:35, “ScalePictureToFit”:true, “Picture”:“{Image}” } }, { “id”:“space1_{TransactionID}”, “type”:“SpaceView”, “properties”: { “WidthPercent”:2 } }, { “id”:“PurposeVert_{TransactionID}”, “type”:“VerticalArrangement”, “properties”: { “AlignVertical”:2 }, “components”: [ { “id”:“purpose_{TransactionID}”, “type”:“Label”, “properties”: { “Text”:“{Purpose}”, “FontSize”:15, “FontTypefaceImport”:“Noway-Medium.otf” } }, { “id”:“Transactionid_{TransactionID}”, “type”:“Label”, “properties”: { “Text”:“{TransactionID}”, “FontSize”:12, “TextColor”:-7829368, “FontTypefaceImport”:“Noway-Medium.otf” } }, { “id”:“Status_{TransactionID}”, “type”:“Label”, “properties”: { “Text”:“{Status}”, “FontSize”:15, “TextColor”:-16711936, “FontTypefaceImport”:“Noway-Medium.otf” } } ] }, { “id”:“space3_{TransactionID}”, “type”:“SpaceView”, “properties”: { “Width”:-2 } }, { “id”:“Amount_{TransactionID}”, “type”:“Label”, “properties”: { “Text”:“{Amount}”, “TextColor”:-16711936, “FontTypefaceImport”:“Noway-Medium.otf”, “FontSize”:20 } } ] } ] } ] }
Now you have succesfuly Created Order History Screen In your App but this is only a Order history Screen there you can show all the User’s Transactions so now we will learn about how can we Store Transactions in firebase.
How to Store Transaction’s Data in Firebase

As you can see in the above image you can know about that how can you Store Transaction’s data in firebase and if you are facing any issue with these blocks then you can ask me in Reply.
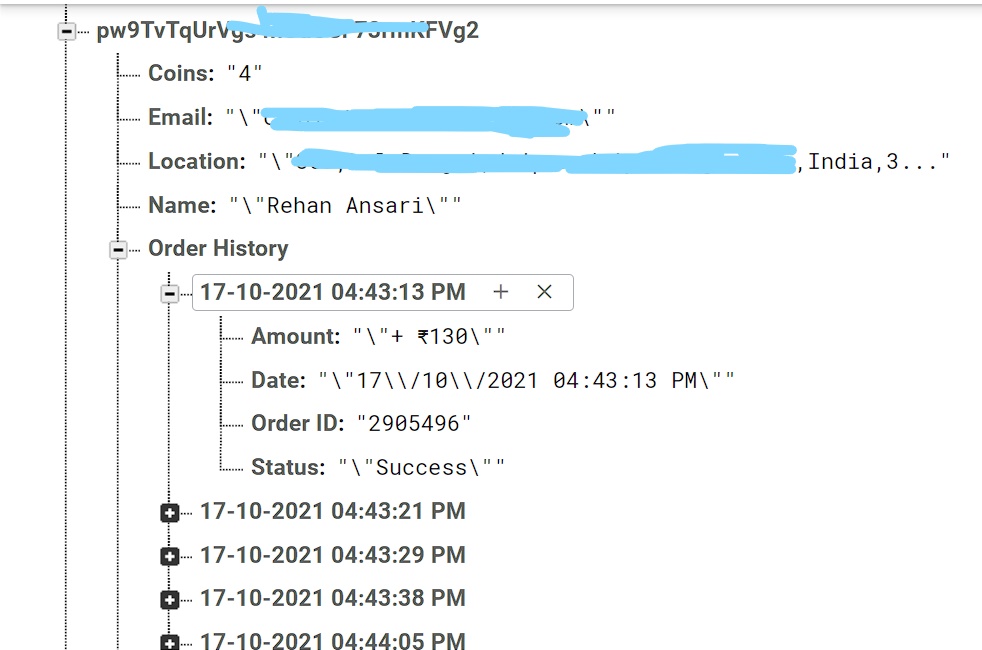
you can see also Firebase Structure in the image Below.
Output
Download Examples
Order_history.apk (6.0 MB)
Conclution
I hope you are well learned about How to Store Transaction’s Data in Firebase and How to Create Order History Screen In App that’s you are creating with Kodular or any other App Inventor.
Have you Like this Guide?
- Yes
- No
Support
pay me a Visit on My Website
Cheers!