 Admob Extension
These extensions will help you to integrate AdMob ads and ads from partner networks as mediation in your Kodular Premium Extension. It uses deprecated sdk version 21.2.0.
Get Started:
You should first integrate the necessary libraries required to display ads in your application. I’ve added all the SDK libraries required in this AdmobSdks Extension and ExtraSdks Extension. So, to integrate any of the ad-type, even mediation, you should first download these extensions, add these two extensions to your application & should use the InitializeSdk method on Screen1.Initialize .
This will increase your app size by about 9MB. However, if you are only distributing your apps through Google Play Store then instead of AdmobSdks extension and ExtraSdks extension, you can use AdmobSdkLite extension which will increase your app size by only 1.5MB.
Download Deprecated Version Of AdmobSdks Extension From Github
Download Deprecated Version Of ExtraSdks Extension From Github
OR
Download Deprecated Version Of AdmobSdkLite Extension From Github
Note: If you are using AdmobSdks Extension then you must drag and drop the ExtraSdks extension to the screen.
Note: If you have already used these extensions on Screen1 then you don’t need it to add on other screens as well. You are good to go without using this extension on another screen then.
Following methods are available in the extension.
1. Initialize SDK
![]()

You must call InitializeSdk method to initialize the required SDKs. On Successful, It will trigger the SdkInitialized event.
Note: I suggest you call this method on Screen1.initalize. Also, if you initialize this extension on Screen1 then it is no longer a need to initialize on other screens.
2. Targeting
As an app developer, you can indicate whether you want Google to treat your content as child-directed, mark your ad requests to receive treatment for users in the European Economic Area (EEA) under the age of consent and tools like maximum ad content rating can help you have more control over the content of the ads shown to your users. You can set a maximum content rating to help compliance with platform policies.
![]()
TagForChildDirectedTreatment accepts integer values, and the value can either be 0,1 or -1. For true it should be 1, for false it should be 0 & for unspecified, it should be -1.
![]()
TagForUnderAgeOfConsent accepts integer values, and the value can either be 0,1 or -1. For true, it should be 1, for false it should be 0 & for unspecified it should be -1.
![]()
You can add max-content rating using this MaxAdContentRating method. The values can be G,MA,PG or T. G represents that content are suitable for general audiences, including families. MA represents that content are suitable for only matured audiences. PG represents that content are are suitable for most audiences with parental guidance & T represents content are suitable for teen and older audiences.
You can find more about targeting from here.
3. Obtaining Consent
Under the Google EU User Consent Policy, you must make certain disclosures to your users in the European Economic Area (EEA) along with the UK and obtain their consent to use cookies or other local storage, where legally required, and to use personal data (such as AdID) to serve ads. This policy reflects the requirements of the EU ePrivacy Directive and the General Data Protection Regulation (GDPR).
The configuration should be handled in Admob Privacy & Messaging.
![]()


It is recommended that you request an update of the consent information at every app launch. This will determine whether or not your user needs to provide consent.
If success, it will trigger ConsentInfoUpdateSuccess event with a boolean parameter isConsentFormAvailable.
If failed, it will trigger ConsentInfoUpdateFailure method with an error message. You may call RequestConsentInformation method again here.
![]()


Now, if consent form is available, you may load form using LoadForm method. If form is successfully loaded, then it will trigger ConsentFormLoadSuccess event with an integer status.
If status is 0 then it is unknown.
If status is 1 then it is not required to show consent.
If status is 2 then it is required to show consent.
If status is 3 then consent is already obtained.
You may show the consent if status is 0 or 2.
If consent form is failed to load, then it will trigger ConsentFormLoadFailure with an error message.
![]()

To present the form, use the ShowForm method. If the form is dismissed, then ConsentFormDisimissed event is triggered.
![]()
In testing your app, you may find ResetConsentState method helpful to reset the state of the SDK so that you can simulate a user’s first install experience.
![]()
It should only be used while testing. DebugGeography provides a way to test your app’s behavior as though the device was located in the EEA. It can be set as “EEA”, “NOT EEA”, “DISABLED”.
Note: DebugGeography is for testing purpose only. Make sure you have DebugGeography to DISABLED before publishing on any supported stores.
4. AdInspector
![]()

Ad inspector is an in-app overlay that enables authorized devices to perform real-time analysis of test ad requests directly within a mobile app. To launch AdInspector, you should call OpenAdInspector method. On close, it will trigger AdInspectorClosed event with error parameter.

Note: You should only use AdInspector on testing.
Adding App Id In Manifest
We must add app id in AndroidManifest.xml of your application. To do so, Go to Project Setting >> Monetization >> Google Ads App Id

Note: App Id & AdUnit Id are different. You should not use Ad unit id here. See FAQs section of this documentation on how to create an AdMob app id & how to find it if you have already created an App Id.
Ad Formats:
AdMob Banner Ads
Banner ads occupy a spot within an app’s layout, either at the top or bottom of the device screen. They stay on screen while users are interacting with the app and can refresh automatically after a certain period of time.
Download Deprecated Version Of Admob Banner Extension From Github
![]()
This method helps you to set your banner ad unit id. Remember to check TestMode to false if you are not developing the application for testing.

This method helps you to load and show test ads in your application. You should always use TestMode if you are just testing the application and app is not yet for the production.
![]()
The default behavior of the Google Mobile Ads SDK is to serve personalized ads. If a user has consented to receive only non-personalized ads, you can use IsNonPersonalizedAds method to true.
![]()
To help publishers toward compliance with the California Consumer Privacy Act (CCPA), the Google Mobile Ads SDK allows publishers to use this method to indicate whether Google should enable restricted data processing.

LoadBanner method will help you to load banner ad with different size like Banner, LargeBanner, MediumRectangle, FullSize, Custom Size and different other Anchored and Inline Sizes. After you loaded, you can show your ad in the arrangement using ShowBanner method. If banner is successfully loaded then it will trigger AdLoaded event . If it is failed to load banner ad then it will trigger AdFailedToLoad event with an error message.

ShowAd method will help you to show your loaded banner ad in particular arrangement. Also, if ad opens an overlay, It will trigger AdOpened event, if user clicks on ad then it will trigger AdClicked event, if ad is closed then it will trigger AdClosed event & more.
AdMob Interstitial Ads
Interstitial ads are full-screen ads that cover the interface of their host app. They’re typically displayed at natural transition points in the flow of an app, such as between activities or during the pause between levels in a game. When an app shows an interstitial ad, the user has the choice to either tap on the ad and continue to its destination or close it and return to the app.
Download Deprecated Version Of AdMob Interstitial Extension From Github
The blocks are identical to banner ad and self-explanatory. First of all you should load ad and on ad loaded, you should show ad. If you have any confusion, reply to the post is much appreciated.


AdMob Rewarded Ad
Rewarded ads provide an opportunity for users to watch a video or engage with a playable ad in exchange for a reward within the app.
Download Deprecated Version Of AdMob Rewarded Extension From Github


Admob AppOpen Ad
App open ads are a special ad format intended for publishers wishing to monetize their app load screens. App open ads can be closed at any time, and are designed to be shown when your users bring your app to the foreground.
Download Deprecated Version Of AdMob AppOpen Extension From Github


AdMob Rewarded Interstitial Ad
Rewarded interstitial is a type of incentivized ad format that allows you offer rewards for ads that appear automatically during natural app transitions. Unlike rewarded ads, users aren’t required to opt-in to view a rewarded interstitial.
Download Deprecated Version Of AdMob Rewarded-Interstitial Extension From Github


Mediation
AdMob Mediation is a feature that lets you serve ads to your apps from multiple sources, including the AdMob Network, third-party ad networks, and AdMob campaigns. AdMob Mediation helps maximize your fill rate and increase your monetization by sending ad requests to multiple networks to ensure you find the best available network to serve ads.
To show ads from mediation, you must follow the steps from GetStarted which is to initialize SDK and put AdMob app id on manifest.xml. Then download the extension whose mediation you are using and drag and drop to the extension to screen.
The mediation extensions below don’t contain any methods. So, for example, if you wanted to show a banner ad, then you should download the AdMobBanner extension from AdFormats and then add banner ad unit id and use methods from there.
AdColony
Supported Ad Formats:
* Banner
* Interstitial
* Rewarded
* Native
To integrate AdColony ads with mediation, you should follow these steps :
Step 1 : Setup Ad Colony
-
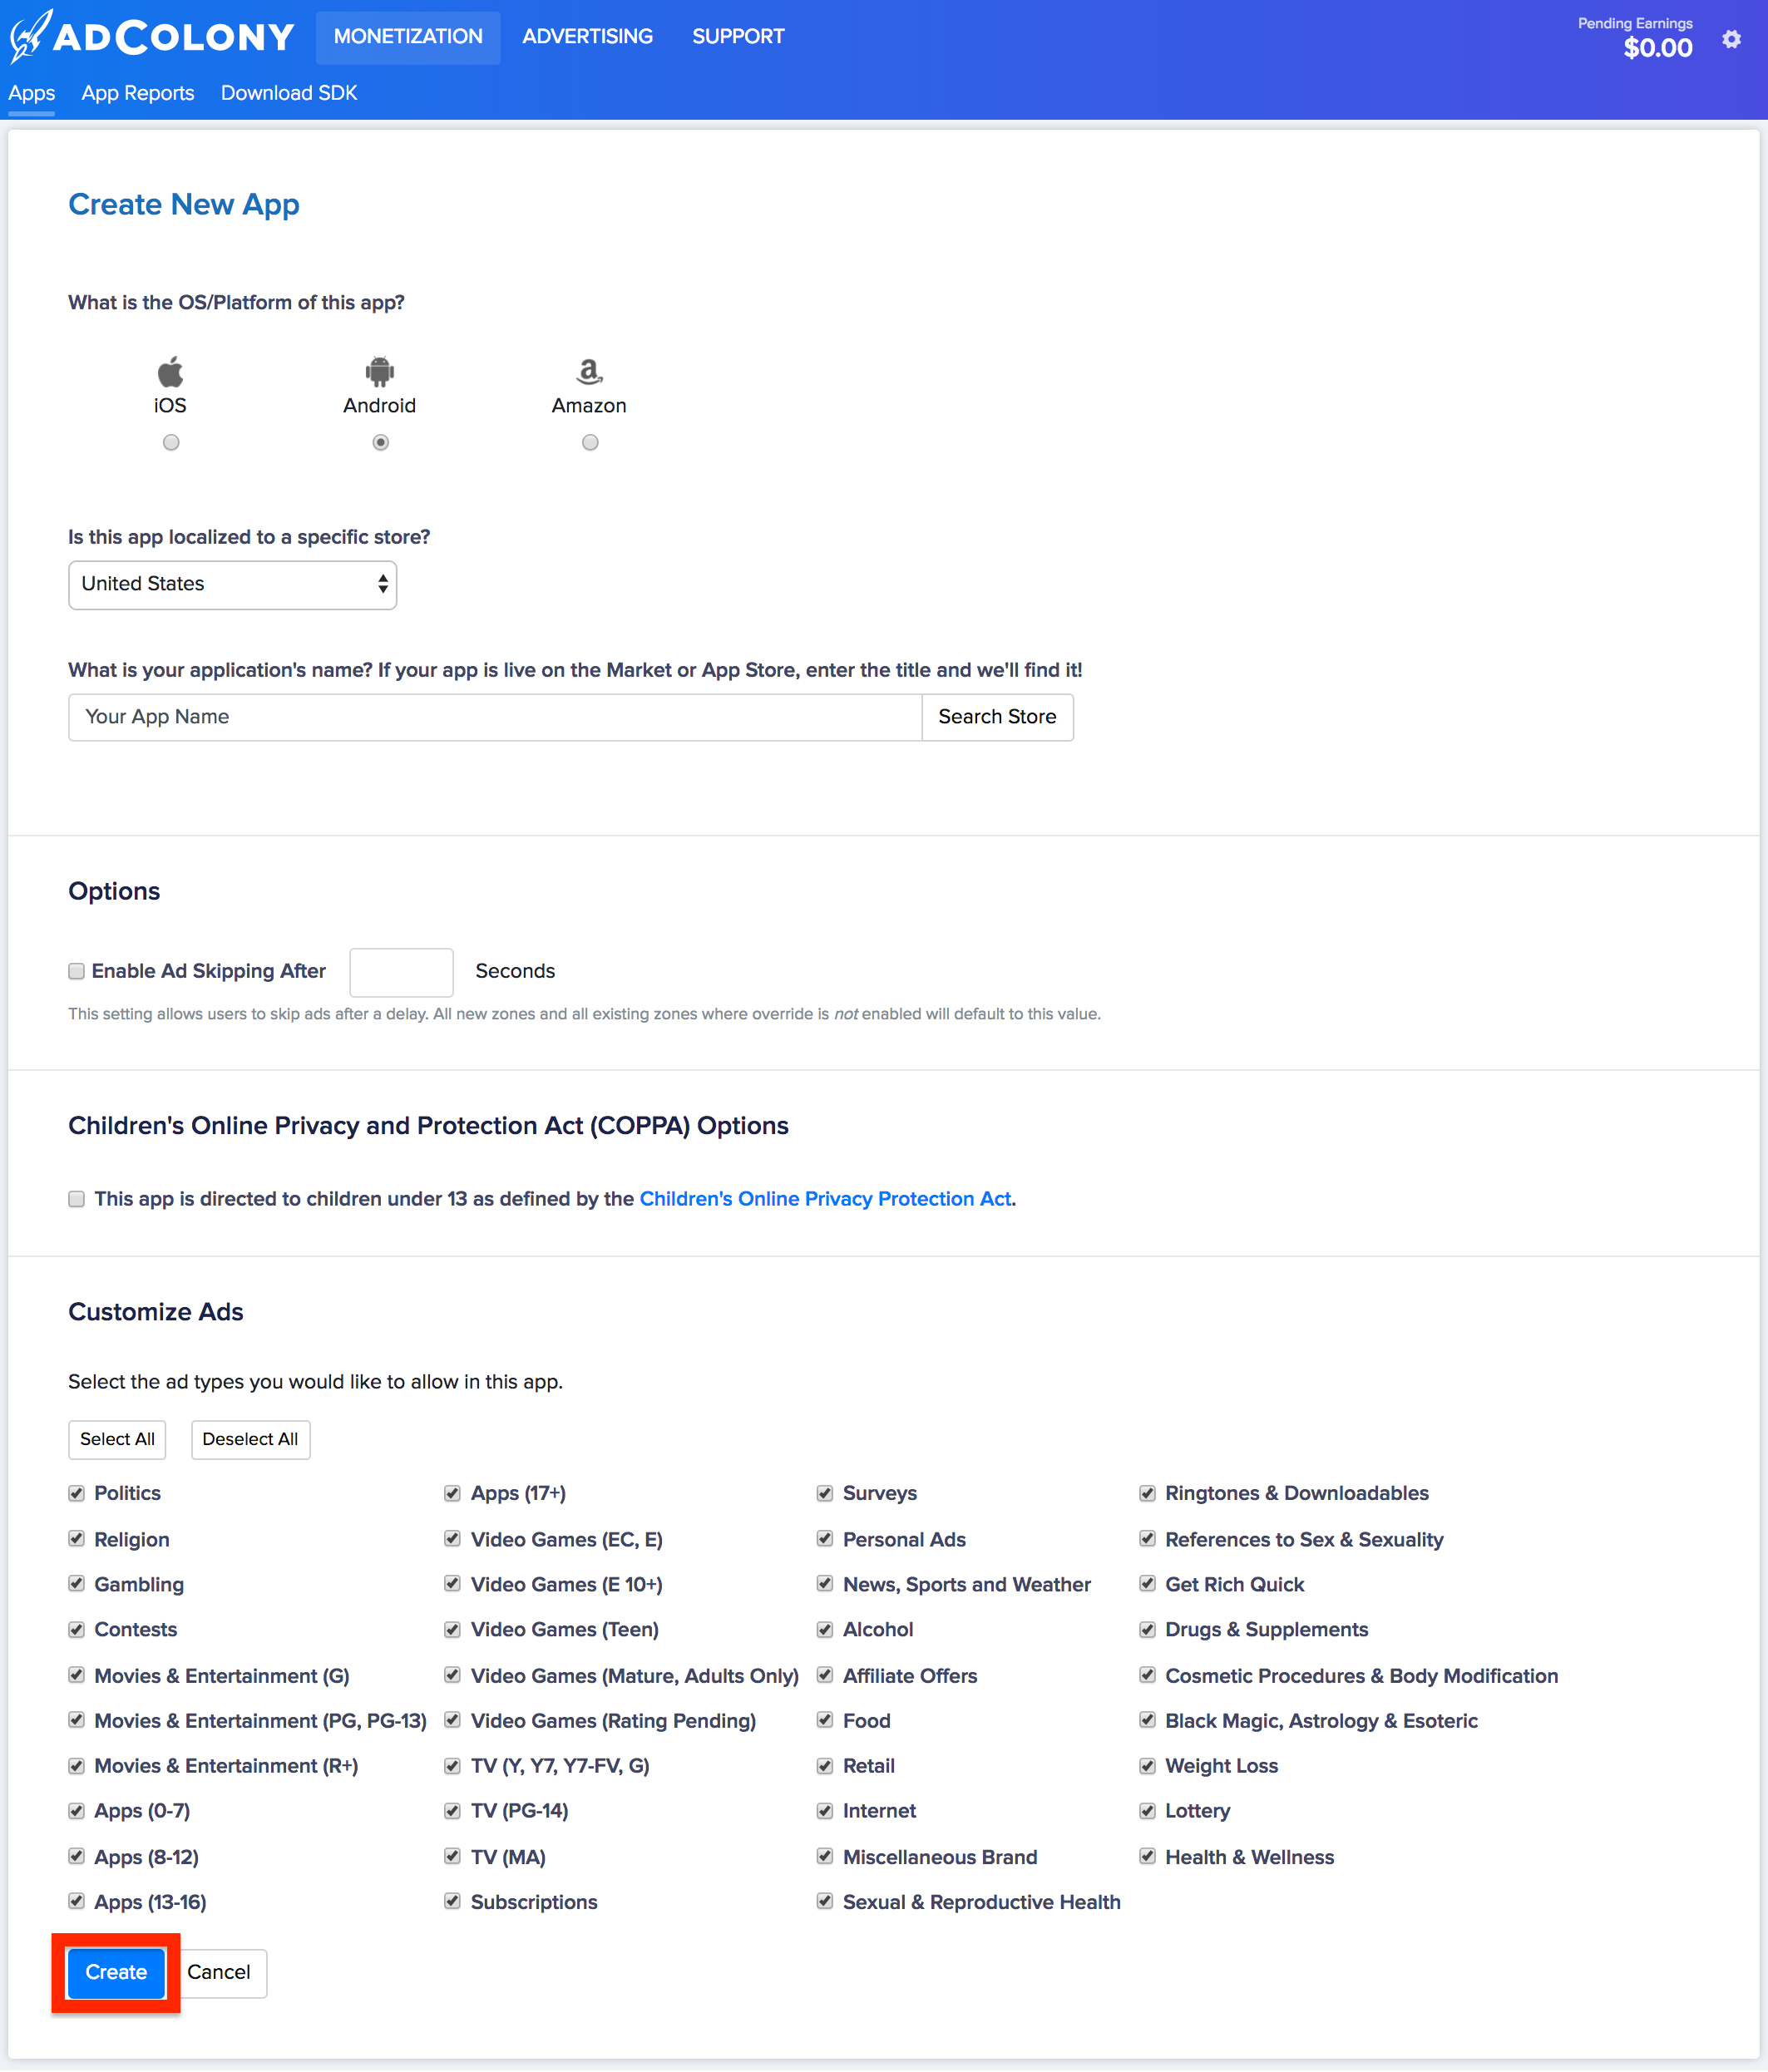
Sign up and log in to your AdColony account. Add your app to the AdColony publisher dashboard by clicking the Setup New App button.
-
Fill out the form and click Create at the bottom of the page to add your app to AdColony.
-
Once your app is created you can obtain your App ID by navigating to Monetization > Apps under your app’s Basic App Information section.
-
Next, create a new Ad Zone by clicking the Setup New Ad Zone button in the Ad Zones section of your App’s page. We recommend creating a new Ad Zone for mediation with AdMob even if you already have one.
-
Set Zone is Active? to Yes and Enter a Name for your AdZone.
-
For Banner, Choose Banner as the Ad Zone Size.
-
Enter a value for the Daily play cap.
-
Click the Create button when finished to create the Ad Zone. Note your AdZone and app id in notepad. It will be used on further steps.
-
Now, Go to Settings and note the Read-Only API key in notepad. It will be used on further steps.


Step 2: Create & Configure Mediation Group
-
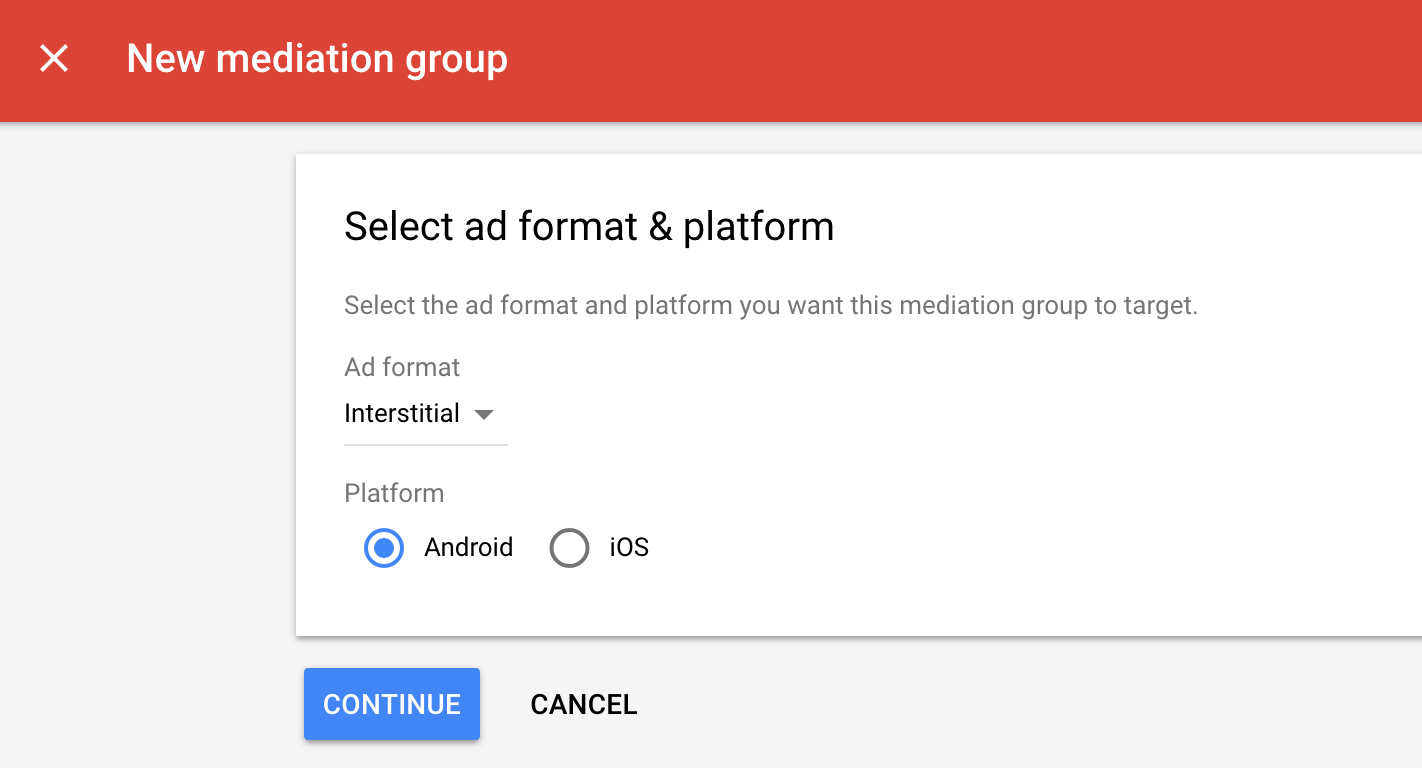
Go to mediation and create a new mediation group.

-
Enter your ad format and platform, then click Continue.
-
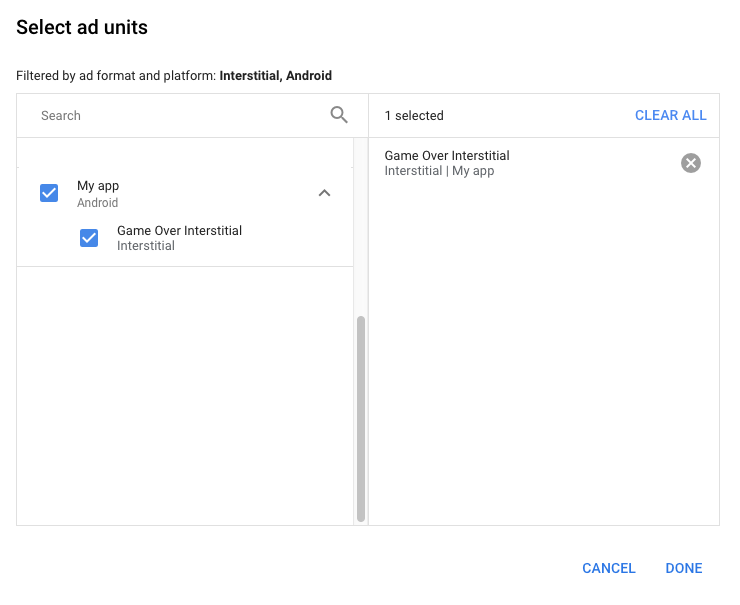
Give your mediation group a name, and select locations to target. Next, set the mediation group status to Enabled. Then click Add Ad Units, which will open up the ad unit selection overlay.
-
Associate this mediation group with your existing AdMob ad unit. Then click Done.
-
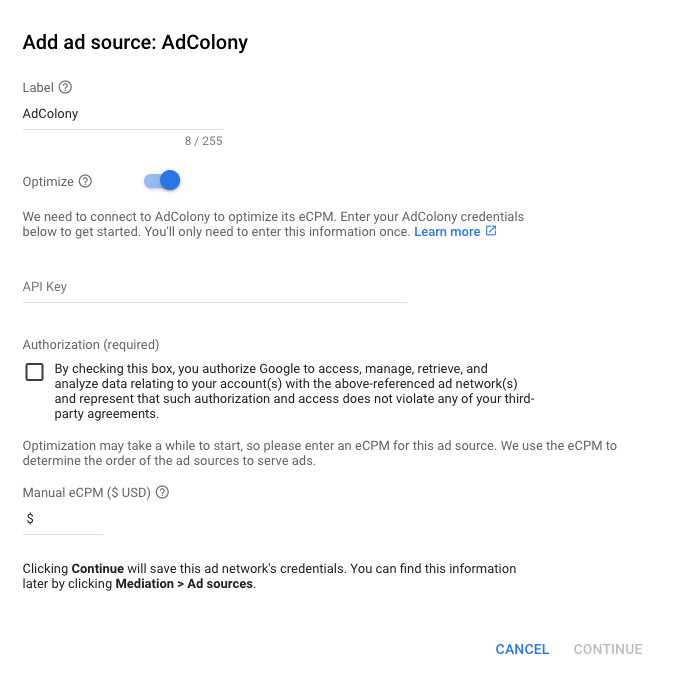
Now under bidding card, tap on Add ad source then select AdColony then paste the zone id we have copied earlier.
-
Then, under waterfall card, tap on Add ad source then select AdColony and then add app id , zone id and API key.
-
Click Save.


Step 3: Drag & Drop Adcolony Mediation Extension
I've added all the required libraries for showing AdColony ads in this extension. You just need to download, drag and drop the extension to the screen. This extension doesn't contain any methods.Download Deprecated Version Of AdColonyMediation extension from Github
Facebook Audience Network
To integrate Facebook Audience Network, You should follow these steps.
This documentation is copied and modified from official AdMob documentation
Step 1 : Set up Facebook Audience Network
-
Sign up and Log in to the Business Manager Start page.
-
Click
Create a new Business Manager accountand fill out the required fields with your business details.

-
Once you’ve filled out the required information, you’ll be prompted to create a property for your app. Enter the desired name of the property for your app and click. Then Go to
Monetization Manager.

-
Next, select Android as the platform to monetize.

-
Indicate whether or not your app is live and click Submit . Then, You will be prompted to create an ad placement for your application. Select a format, fill out the form and click Next .

-
Now, Note your System user access token and placement id

-
Note the property id of your product
If you look at the link on monetization manager then it looks like that
https://business.facebook.com/pub/property/?business_id=1285496463872947&property_id=631234567890471&ref=devsite_app_onboarded
Note property id after &property_id= to &ref= . For this link above, 631234567890471 is my property id. Note the property id.
Step 2 : Create a new Mediation Group
-
First, You should create an application on AdMob and create all placements you have made on Monetization Manager. Please check FAQs at end of documentation if you don’t know how to create application id and ad unit id.
-
Now tap on Mediation >> Mediation Groups and click on Create Mediation Group
-
Enter the ad format, for example if you have created 2 placements, one banner and one interstitial in Montization manager, we will create for banner first then interstitial.

-
Give your mediation group a name, and select locations to target. Next, set the mediation group status to Enabled. Then click
Add Ad Units, which will open up the ad unit selection overlay.

-
Choose that App and AdUnit that we will use to integrate facebook ads on.
-
Then on Biddings, Click on
Add ad source, Select facebook audience network and add placement id that we created on Step1. Then click Done.
-
Then on Waterfall, Click on
Add ad source, Select Facebook Audience Network, then add manual cpm for example 1$ , Continue and add placement id, system access token and property id that we have noted on Step 1.


Step 3 : Drag and Drop FacebookBidding Extension
- You should download the FacebookBidding extension, and just drag and drop that extension to Screen. This extension doesn’t contain any methods. You should first follow the steps from Get Started. And For example, to show Facebook banner ads, Download the BannerAd extension from AdFormats above.
Download Deprecated Version Of FacebookBidding Extension From Github
Step 4: Upload a dex file
- You should upload audience_network.dex file in assets.
Download audience_network.dex file

FAQs:
How to create an AdMob Account ?
-
Go to AdMob Home, Click on
Get StartedorSignUp. If you have already created an AdMob account earlier, do not create a new account instead log in with that account.
-
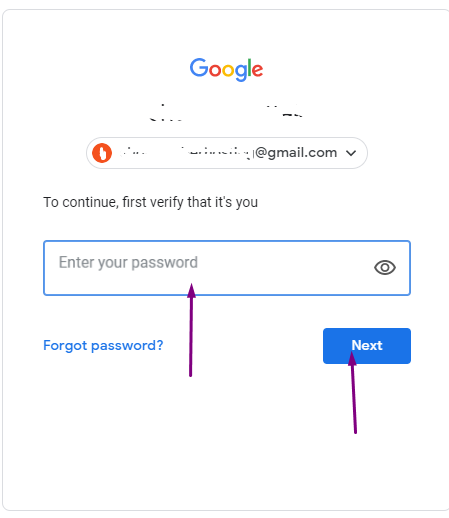
If you access this link in a browser where you have already login with a Google account you will receive this screen. Where they ask you to verify your account click Next .
-
Place the password and click the Next button.
-
Now place the required information, on Country, Time zone & Billing Currency.
-
Click the
Create AdMob Accountbutton after adding all information.

-
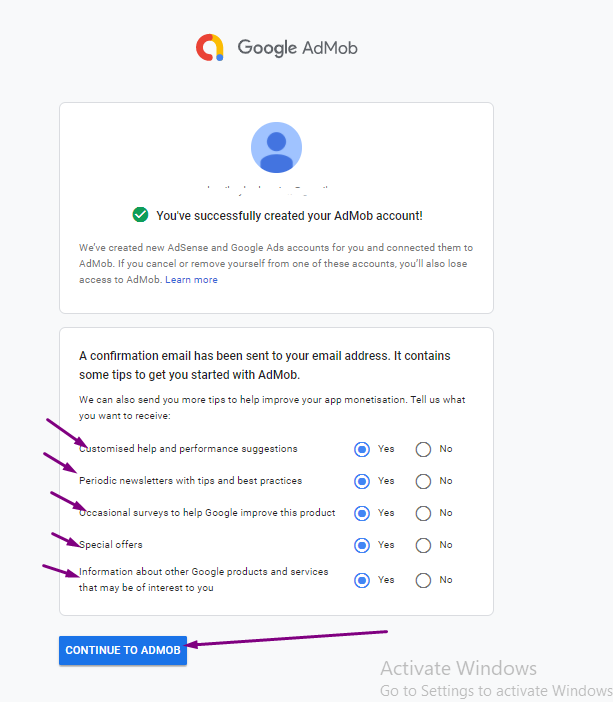
Check the email notifications for your account. And continue to next screen.
-
Now your AdMob Account is created. You should create an app & then ad unit id for the ads to show.


How to create an application Id & Ad Unit Id ?
-
Click on Apps on SideBar and then click on
Add Your First App.
-
Set Platform to Android and check if your app is listed on supported app store or not.

-
If your app is already published to listed stores then search for your app, submit and continue.

If you have checked no then add an app name then click onAddApp& click on Done.

-
Now, Click on
Add Ad Unit.
-
Now, Select an ad format, in this case, I am selecting Banner,

-
Add an ad unit name, and click on
Create ad unit.

-
Now, your ad unit is created successfully. You will find appId & ad unit id. Copy these id somewhere in notepad and save this. You can use the app id while creating your extension for manifest requirement for the application. And you can use ad unit id in the respective format extension.


Where do I find my app id and AdMob ad unit id ?
I’ve found most user are confused on AdMob app id & ad unit id. AppId and ad unit id are different. You should use your app id when you are building your own extension from Niotron IDE & you should use ad unit id in your respective ad extensions for banner, interstitial and all.
Copied from Google AdMob Support, Find more.
Find an app ID
- Sign in to your AdMob account at https://apps.admob.com.
- Click Apps in the sidebar.
- Click View all apps.
- Click the
icon in the App ID column to copy the ID of an app
Find an ad unit ID
- Sign in to your AdMob account at https://apps.admob.com.
- Click Apps in the sidebar.
- Click the name of the app associated with the ad unit. Note: If you don’t see it in the list of recent apps, click View all apps. Then, click the name of the app.
- Click Ad units in the sidebar.
- Click the
How to enable test ads ?
It’s important to enable test ads during development so that you can click on them without charging Google advertisers. If you click on too many ads without being in test mode, you risk your account being flagged for invalid activity.
In every format extension ie, AdmobBanner, AdmobInterstitial, AdmobRewarded etc you will find TestMode checkbox on their properties. You should check the checkbox in order to enable test ads.

Or,
-
Click on settings on AdMob and click on Test Devices

-
Add device name, platform and advertising id and save the device. To find an advertising id, Go on your Android Setting, Find & Click on Google, then Click on Ads. Find More.

Extension is not working on Companion, Why?
This extension will not work on companion as companion application doesn’t have required manifest for the extension to work. You should always build the application to check if it is working or not. So, I will suggest you to complete your application and use this extension after.
Ads are only showing on test mode, When I put my own ad unit id, It doesn't show ads, Why?
Many users have complained that this extension is not able to show their ads with their ad unit id. First of all, you should be sure if you haven’t violated any of the AdMob policies and your AdMob is allowed to serve the ads. You should be sure that you have followed all the steps from documentation properly. Some users use ad-unit as app-unit or vice-versa. Make sure your are not that user and have used appId(which contains ~) while creating extension in Niotron IDE as suggested & adUnitId(which contains /) properly in Admob Banner, Interstitial or Rewarded ad extension.
Secondly, If your ad is failed to load then get the failure message from AdFailedToLoad method. If the failure message is no-ad-config then you can check a FAQ on this documented after this FAQ. You can reply this post if you got any trouble.
Ad loading failed with an error `No Ad Config`
Most user get this message after they completed all the steps on documentation,
{
  "Code": 3,
  "Message": "No ad config.",
  "Domain": "com.google.android.gms.ads",
  "Cause": "null",
  "Response Info": {
    "Response ID": "null",
    "Mediation Adapter Class Name": "",
    "Adapter Responses": []
  }
}
You don’t need to worry about this. If the app is not published on Play Store then first make sure you have followed steps properly then you can publish your app and wait few days.
Also, Kindly ensure that the following conditions are fulfilled in order to maximize the chances of receiving ads from the AdMob SDK:
Copied from Google Groups, See
- Fully complete the setup of your AdMob account, particularly the billing and PIN verification sections.
- Link your app to your AdMob account; you may have to wait for a week or two after publishing an app in order to do this.
- Resolve any policy violations in your AdMob account if any.
You may also refer to common reason for ads not showing for additional scenarios, as well as the fixes for those. Also, you may also reach out to the AdMob Help Center for further assistance on such ad-serving concerns.
These Extensions are open-sourced at Github at here :
If you loved my works then you can support me by donating to me :


